
Level 2: WIFI Setup
Using WiFi will allow you to download the packages necessary for manually building your Retropie image and is also the easiest way to add/remove games from your system. Even if you plan on using the preconfigured Micro SD card image that can be downloaded after purchase, you will still have to set up the WiFi.
When the arcade finishes booting up, use button one on the controller (left button of the three in a row of buttons) to go into the Retropie Configuration menu. In that menu, choose the “WIFI” option.

Once you click on “WIFI” you should see a new menu open:

from this menu select “Connect to WiFi network” which will present you with this menu:

Find your network in the list of SSID’s and select it. You’ll then be presented with the WiFi Password screen:
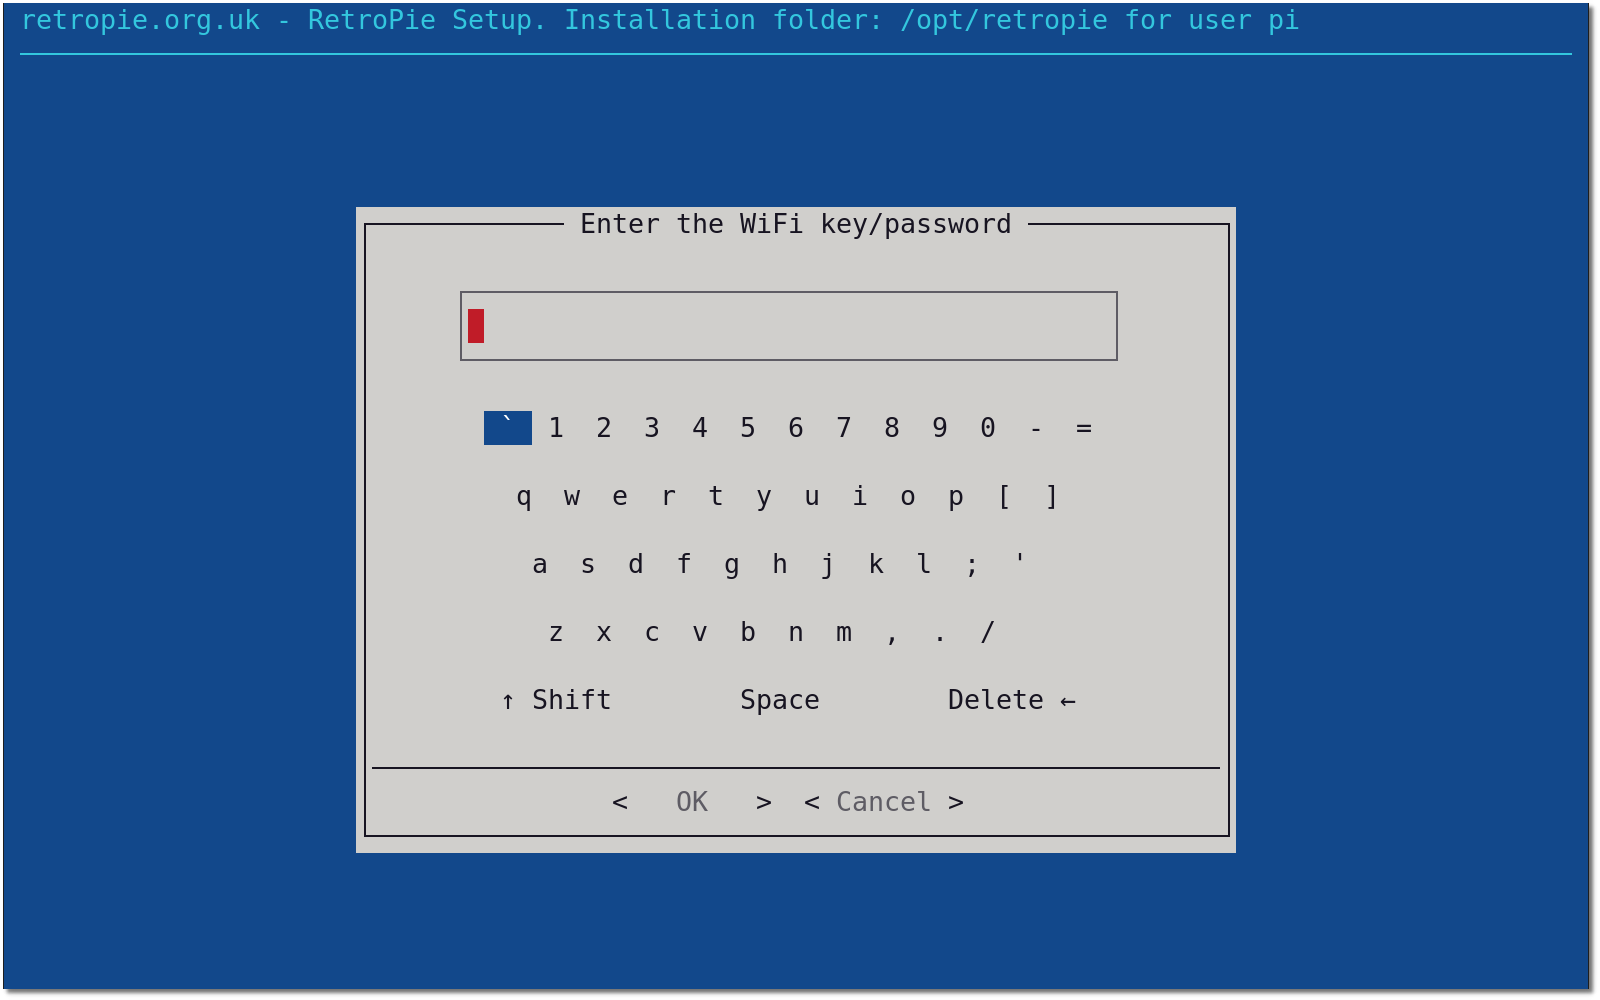
Using the onscreen keyboard, type in your password and hit OK. When you arrive back at the original menu, you should now see your wireless network name and the ip address for your arcade. Your wifi is now configured and you can exit the configuration page.
Note: this is not the only way to set up your wifi. For other options check out the Retropie page on wifi setup.
If you’re building this custom setup from a fresh install of Retropie and not the preconfigured one, you’ll need to move on to setting up the LCD next. If you used the preconfigured image, you’re now ready to begin adding games to your system and don’t have to do any of the setup of the LCD, audio, or controls.